

 Fishician®
Aquarium water changes, done with judgment
Prepare suitable replacement water, remove part of the old water, then refill and check the equipment. The right amount depends on your tank's test results and the needs of its animals.
The short answer
- Prepare before you drain. Treat chlorine or chloramine as needed, match temperature and, for marine tanks, match salinity.
- Choose the amount from the tank's needs. Use water-test trends and a repeatable routine; there is no percentage that fits every aquarium.
- Keep the biofilter established. Protect biological media from drying, untreated chlorinated water and wholesale replacement.
- Topping off isn't a water change. Evaporation leaves salts and minerals behind. Adding water back does not remove accumulated waste.
- Check tank and source water
- Prepare and condition new water
- Measure temperature; marine salinity too
- Power down heaters and pumps that could run dry
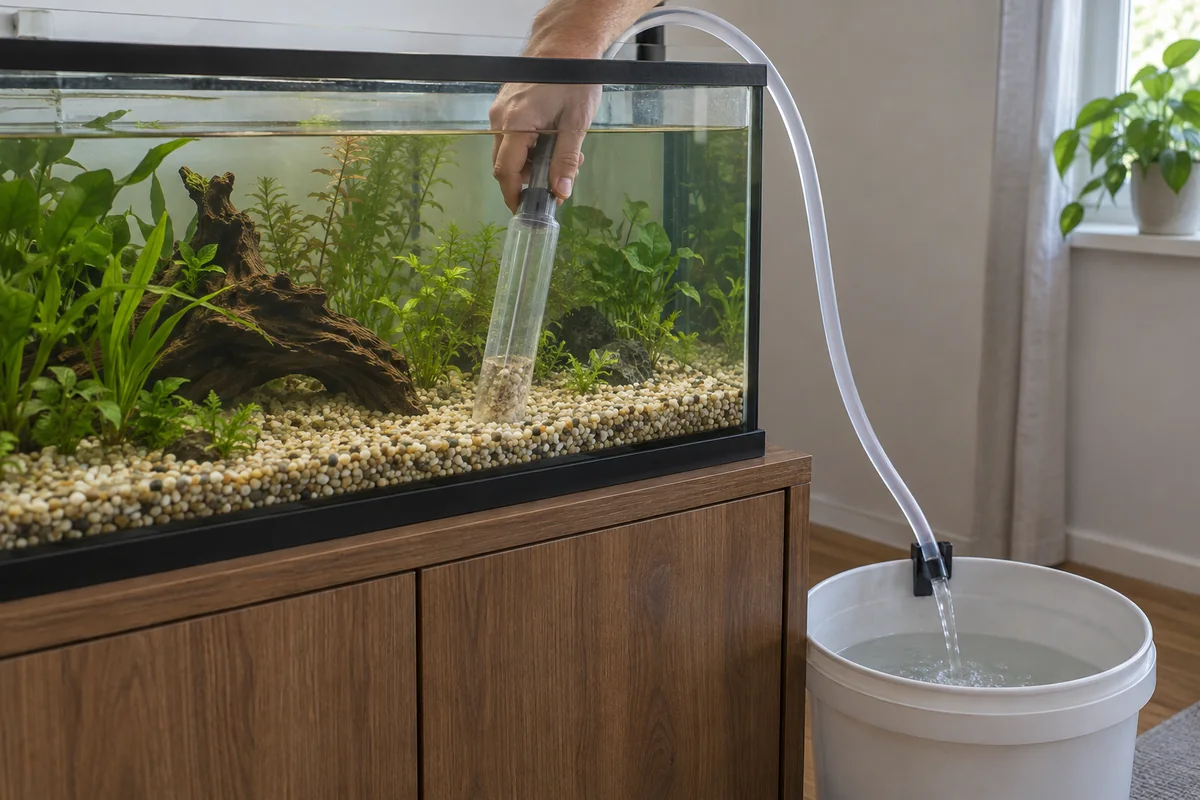
- Siphon waste where it suits the tank
- Refill gently
- Check equipment restarted
- Watch every fish
- Log volume, treatment and readings
1. Prepare the replacement water
Use dedicated aquarium buckets and hoses. Check your source water so you know what needs treating.
- Tap water: use a conditioner rated for the disinfectant in your supply. Follow its current label, including whether the dose is based on new water or the whole tank. Do not rely on standing water to remove chloramine.
- Marine water: dissolve aquarium salt in a separate container according to the salt manufacturer's instructions. Measure salinity before adding it.
- Both: measure temperature and match the tank. Replacement water can restore buffering only if it contains suitable alkalinity; unmineralized RO/DI water does not replenish it.
2. Remove water and accessible waste
Follow the equipment's shutdown instructions before lowering the water. Heaters and pumps that could be exposed must not run dry.
Siphon the planned amount, watching the intake and fish throughout. Remove accessible debris without uprooting plants or digging through a planted substrate. A water change does not require replacing the filter media; see safe filter maintenance.
3. Refill, restart and observe
Add the prepared water gently. Restore the operating water level, then restart equipment as directed. Confirm filter flow, heating and aeration rather than assuming everything restarted.
If fish gasp or deteriorate: support aeration and promptly check temperature, water quality, conditioner use and equipment. The timing is a clue, not a diagnosis. Seek urgent aquatic-veterinary help for severe or unexplained distress.
How much, and how often?
Stocking, feeding, plants, filtration and source water all affect the routine. Log the volume changed and compare water-test trends between changes. Adjust the amount or interval to keep conditions suitable for your animals.
A neglected tank needs care: when its pH and chemistry differ greatly from the replacement water, a large change can cause shock or increase ammonia toxicity. Seek help planning staged correction. Acute contamination may instead need prompt dilution with suitable water; do not delay an emergency response to follow a routine schedule.
Sources
Each source is listed with the part of this guide it supports.
- Seachem: Prime DirectionsA product-specific example in which the dose basis differs for water prepared separately and conditioner added directly to the tank; always follow the current product label.
- Fluval: Saltwater Aquarium Care GuideMarine water changes replace removed water with prepared saltwater matched for temperature and salinity; equipment and animal observation accompany maintenance.
- University of Florida IFAS: Fish Health Management in Recirculating Systems, Part 1Water changes can replenish alkalinity when the source contains it; evaporation top-offs alone can allow salts and other dissolved substances to accumulate.
- Merck Veterinary Manual: Providing a Home for FishTreating chlorinated or chloraminated source water and keeping heaters and pumps appropriately submerged for operation.
- Merck Veterinary Manual: Essential MaintenanceRecurring water-change, cleaning, equipment-check, and observation tasks in an aquarium maintenance routine.
- University of Florida IFAS: Ammonia in Aquatic SystemsWhy dissolved nitrogenous waste accumulates, how pH and temperature change ammonia toxicity, and why dilution is used as a correction.
- Merck Veterinary Manual: Management of Aquarium FishWater-quality monitoring and careful staged correction of old tank syndrome to avoid pH shock and increased ammonia toxicity.